
Quick tour
This tour assumes Agilerr is installed and you are signed in as the admin.
1. The workspace
Section titled “1. The workspace”After signing in you land in the workspace. The left sidebar is your navigation: a project switcher at the top, the project pages (Dashboard, Kanban, Backlog, Bugs, Settings), then the system pages (API, Docs, MCP, Users, Deleted).
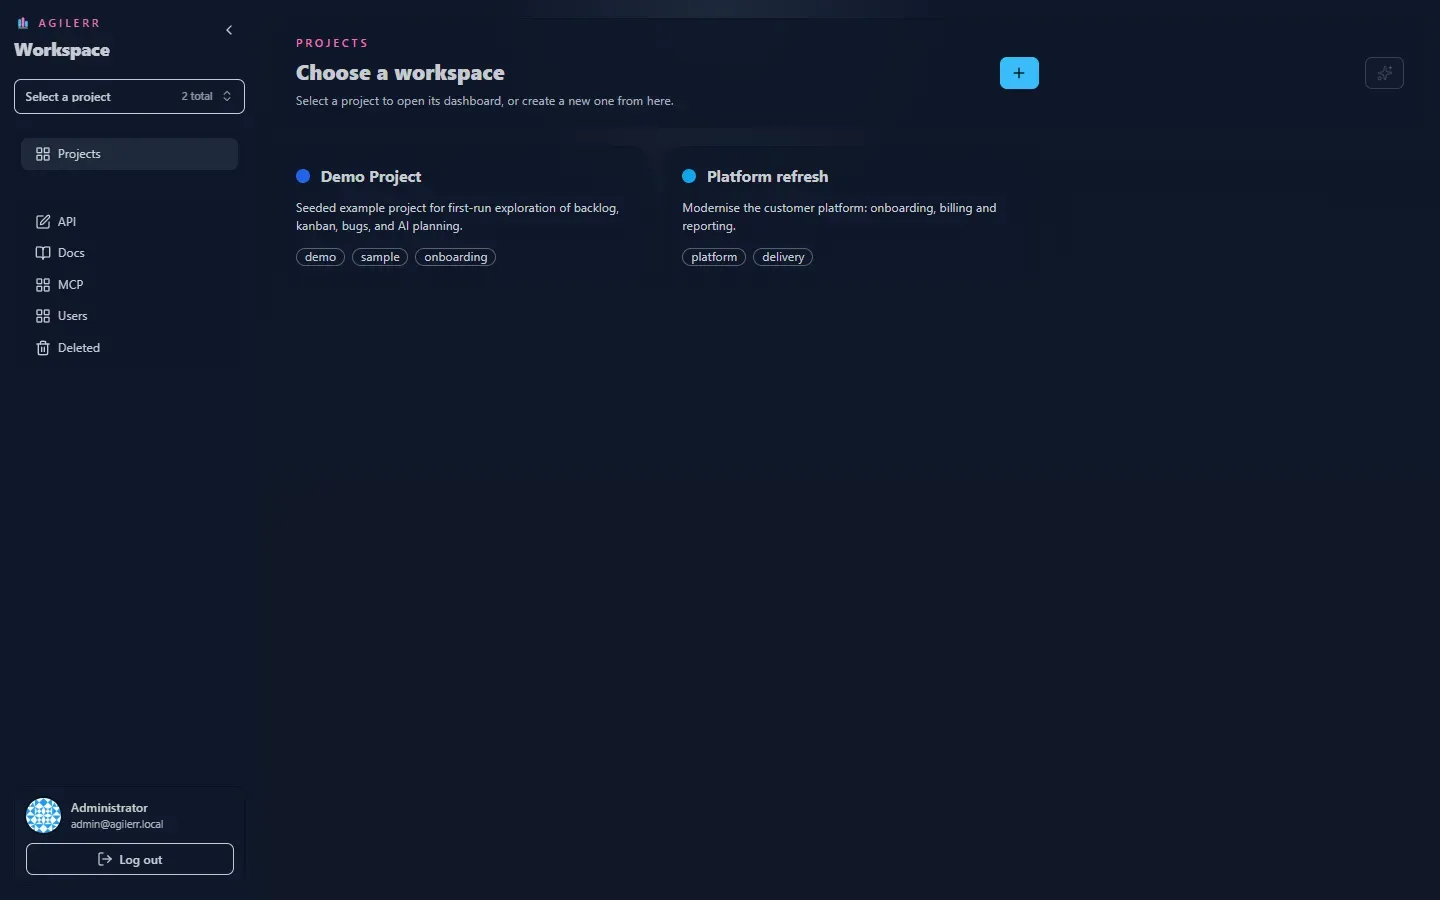
A first-run install includes a Demo Project so there is something to look at.
2. Create a project
Section titled “2. Create a project”Use the project switcher to create a new project. Give it a name, a description, a colour and optional tags. Only users with the Create Projects permission can do this.
3. Add an epic
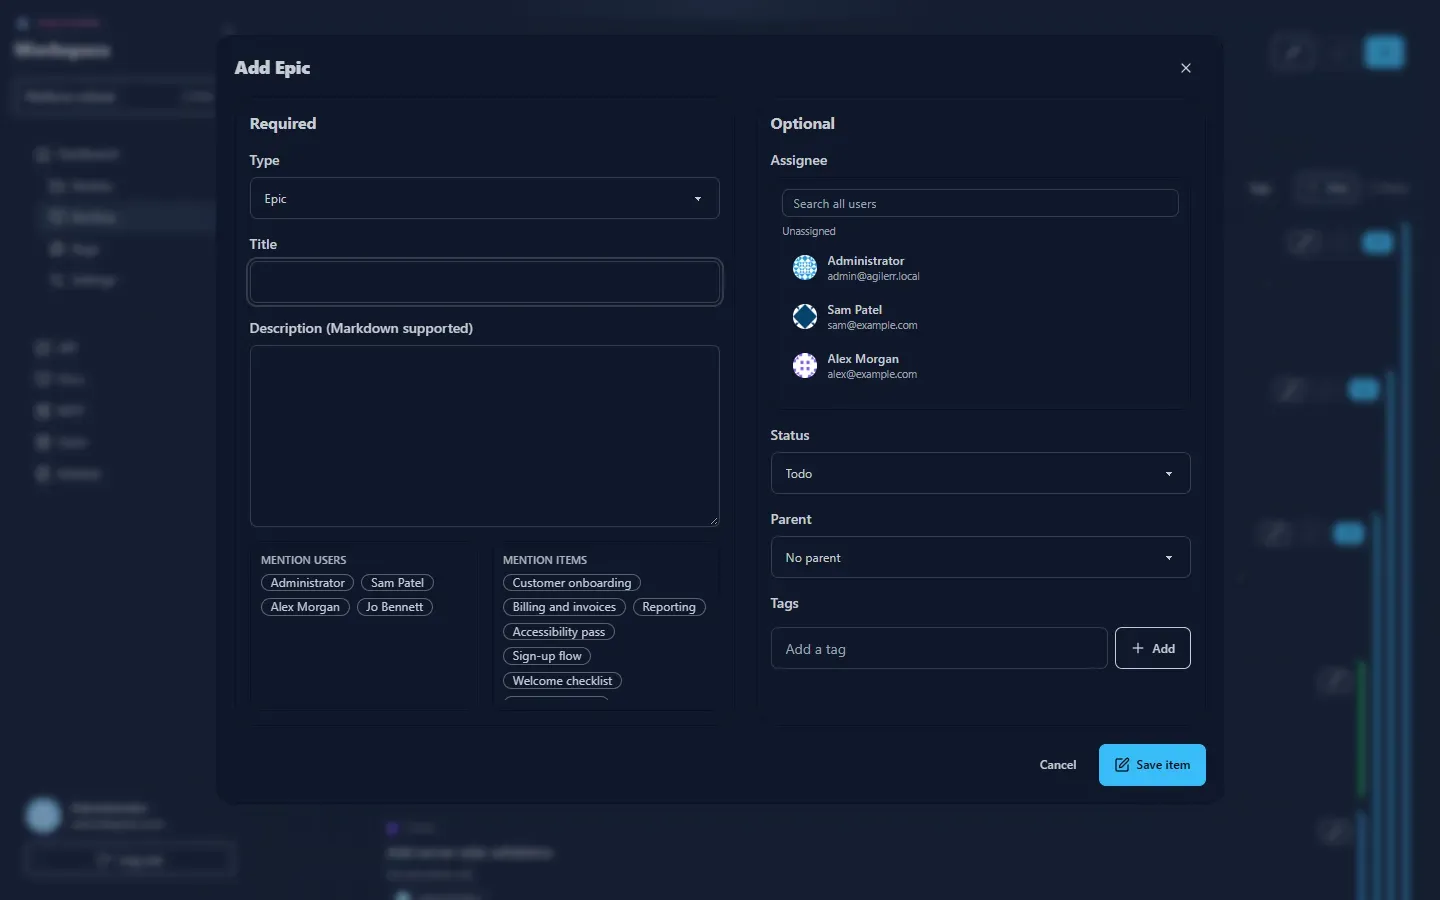
Section titled “3. Add an epic”Open the Backlog and press the + button (or Ctrl+A). Choose the type Epic, give it a title and optionally a Markdown description, assignee, status and tags, then Save item.
4. Break it down
Section titled “4. Break it down”On the epic card, use its + to add a Feature. Add User Stories under features and Tasks under stories. The strict order is Project → Epic → Feature → User Story → Task. See Hierarchy.
5. Work it on a board
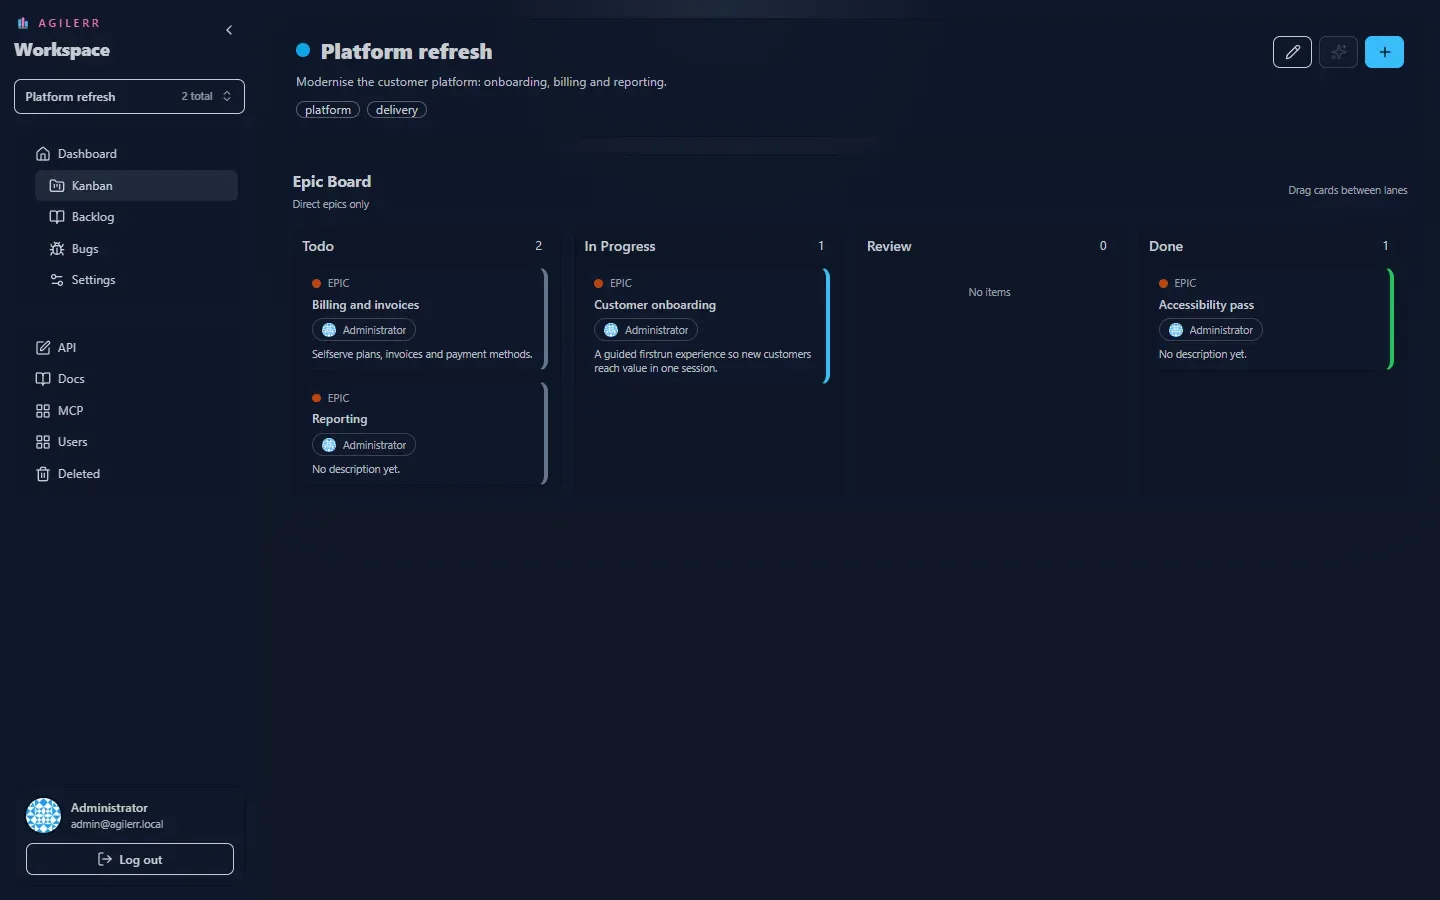
Section titled “5. Work it on a board”Open Kanban. The project board shows epics in lanes; open an epic to see its features, a feature to see its stories, a story to see its tasks. Drag cards between lanes to change their status.
6. Log a bug
Section titled “6. Log a bug”Open Bugs, add a bug and give it a priority. It starts in triage. See Bugs.
7. Invite people
Section titled “7. Invite people”As a system admin, open Users, create accounts and choose which projects each person can see and what they can do. See Users and permissions.
8. Automate (optional)
Section titled “8. Automate (optional)”Open API to copy ready-made curl commands that already include your API key, or MCP to connect an AI agent. See REST API and MCP.
Support the project: Buy Me a Coffee or GitHub Sponsors.